

When you create a new Apple account, you often have to enter a verification code sent via SMS for security reasons. The process generally works fine, but sometimes you’ll see an error message saying that verification failed because the code could not be sent to the phone number provided.
You can still proceed with account creation. Here’s what to do if you don’t receive the OTP codes for identity verification.
How do I fix the issue “Verification failed, code could not be sent to phone number”?
1. Create an Apple account through the App Store
Time required: 5 minutes
The most effective troubleshooting solution is to create an Apple account (formerly known as Apple ID) through the App Store. After that, you will likely stop seeing any failed verification pop-ups. Just follow these steps:
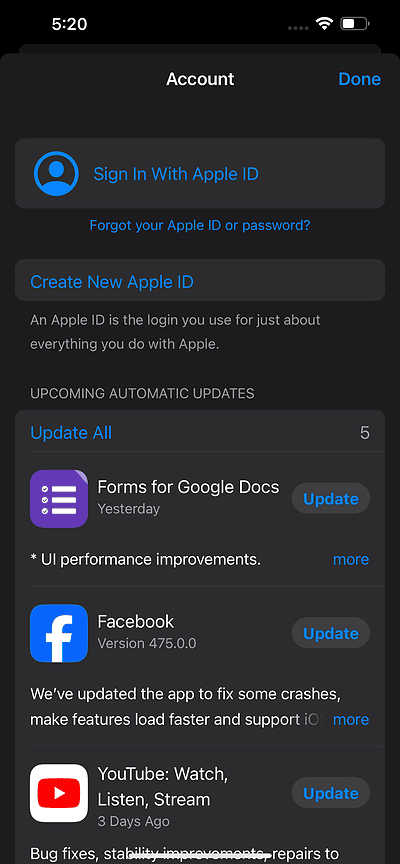
- Open the AppStore and click on the blue My Accountnt Symbol in the upper right corner.
- Tap the Create new Apple ID Option.
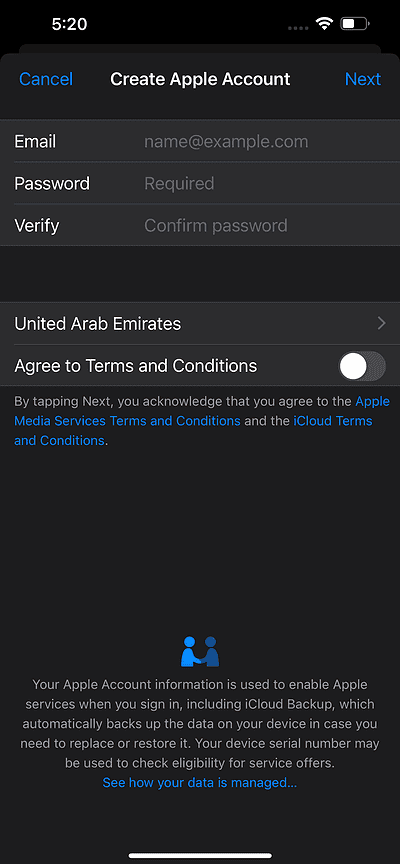
- Now enter a secure password twice and your region. Also activate the switch next to Agree to the terms and conditions.
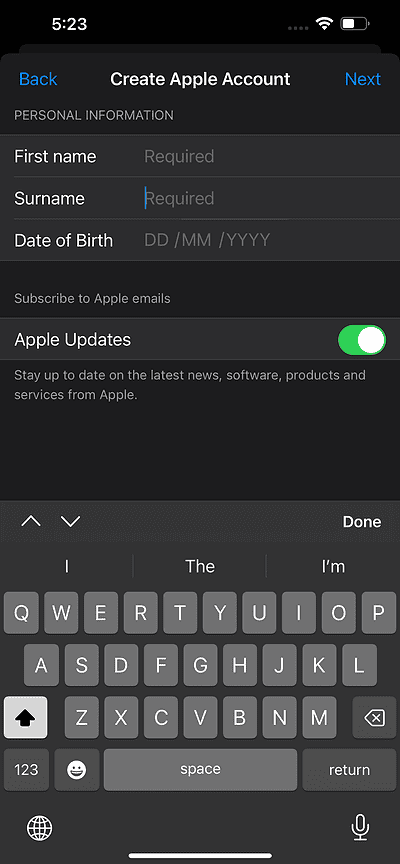
- On the next screen, enter your First name Last Name, And birth dateThen tap Next.
- Next, enter your payment information. This is not a required step and can be skipped by None.
- Finally, enter a phone number that can verify your identity. Hopefully, a verification code will now be sent to your number for confirmation.
2. Create a new Apple account using the Settings app
Instead of creating your new Apple account through Apple’s iCloud website or the App Store, we recommend creating one through the Settings app. Here’s what you need to do:
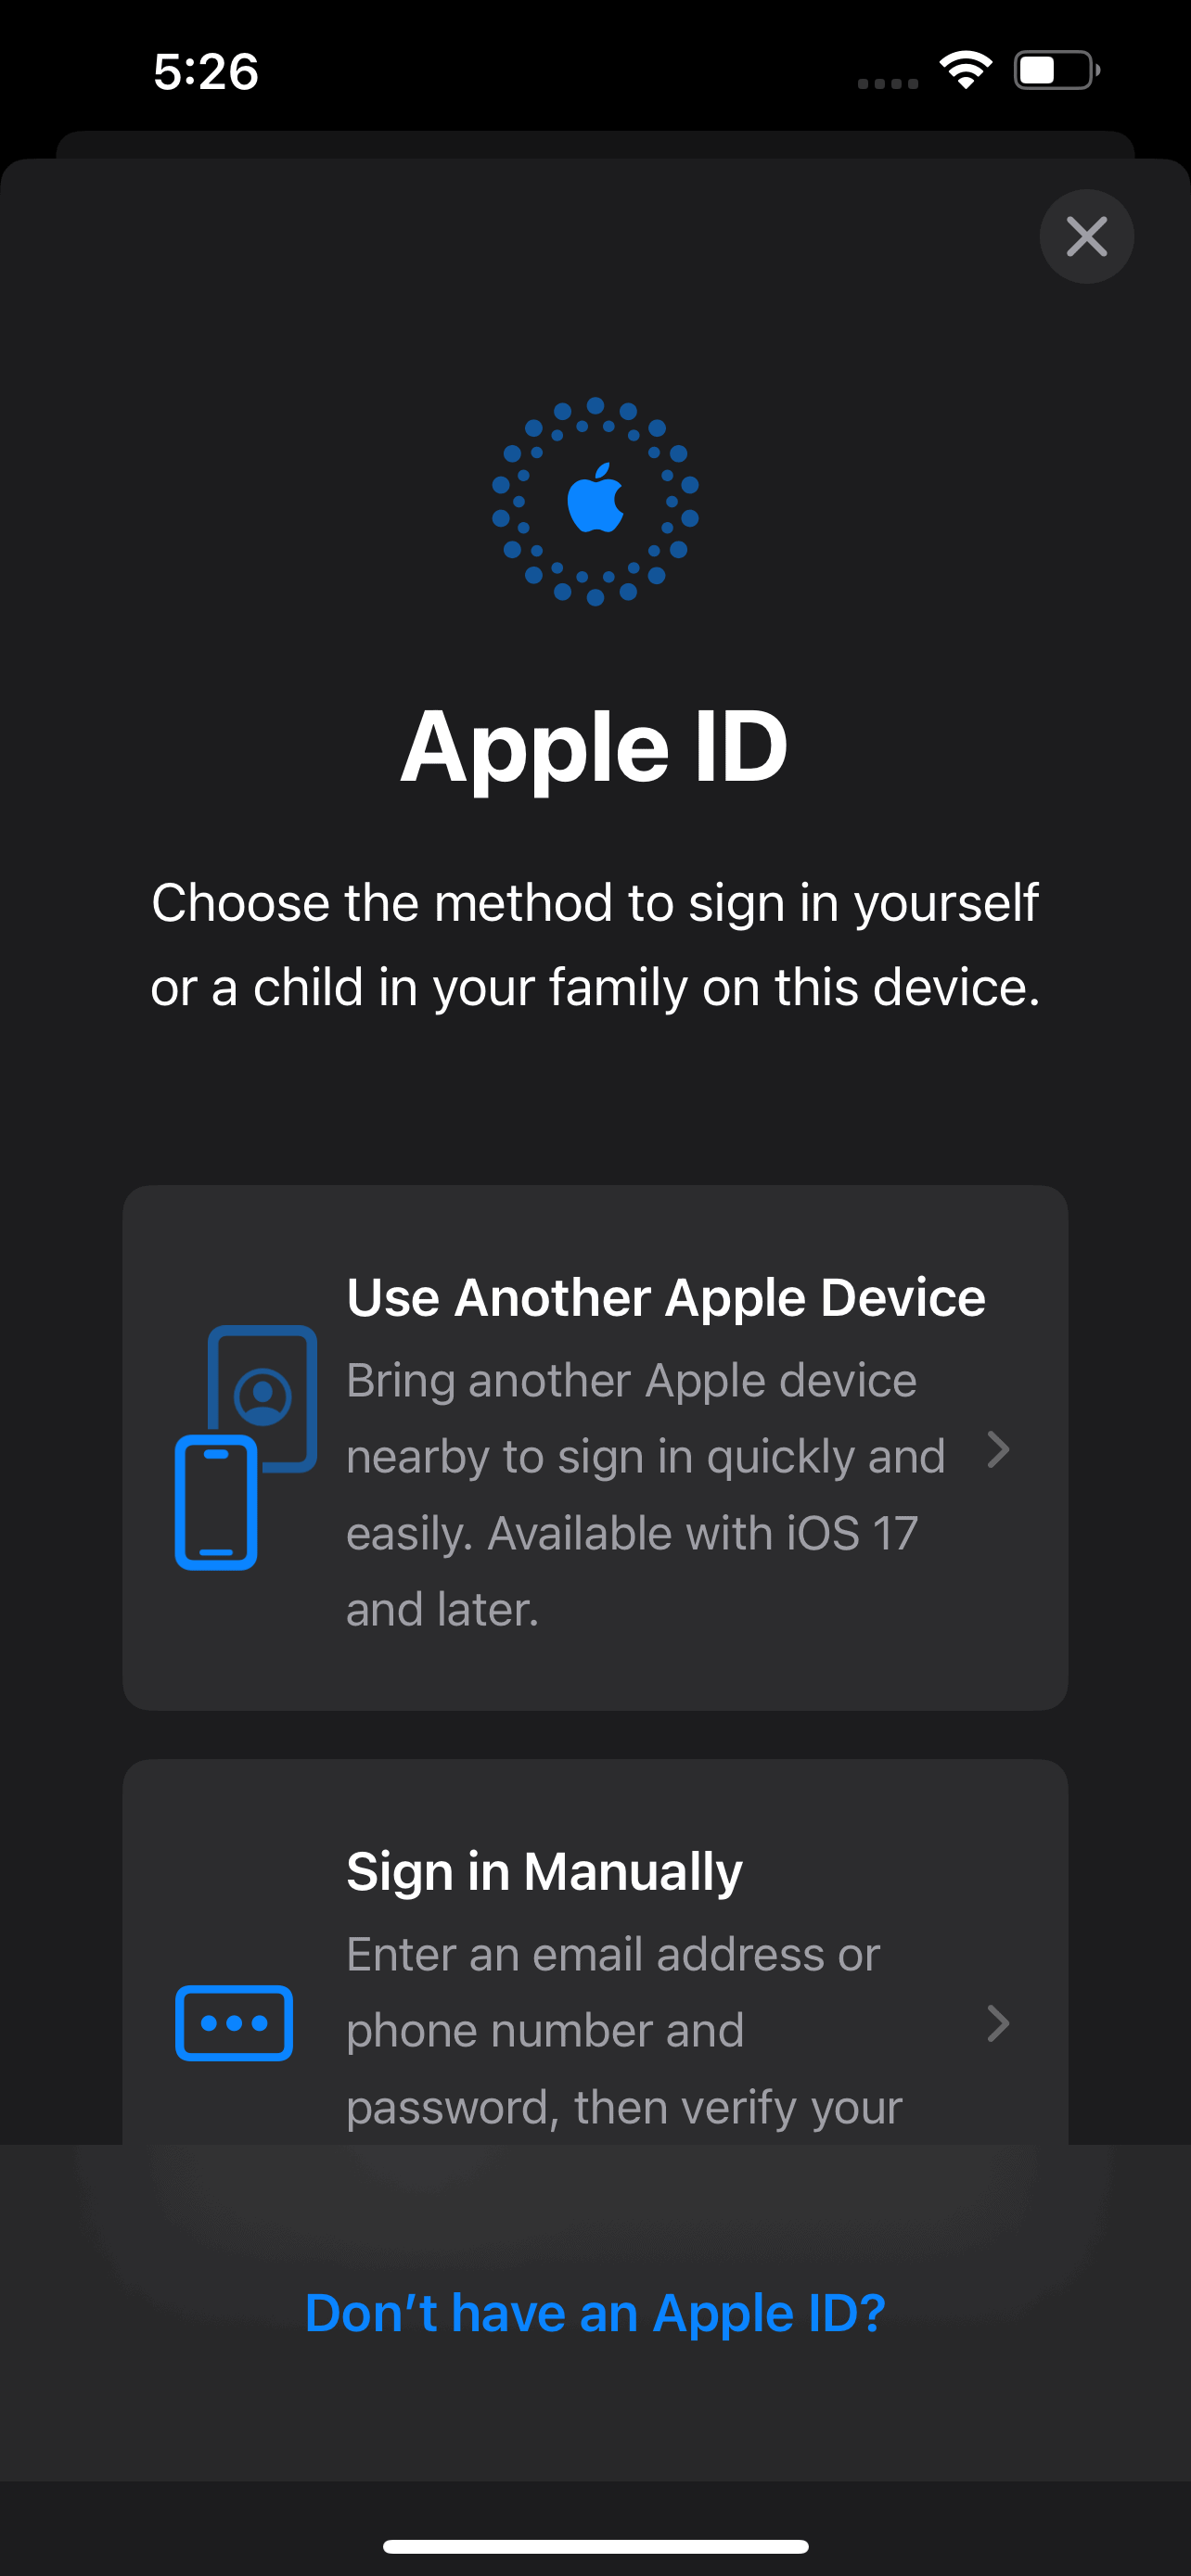
- Open Settings and tap the Sign in to your iPhone Option above.
- Knock “You don’t have an Apple ID?”.
- Follow the instructions on the screen, such as entering your name and date of birth.
- Enter a E-mail address this will be your Apple IDIf you do not have an email address, you can You don’t have an email address? to also create an iCloud email address.
- Now enter a secure password for your Apple ID.
- Select your region and enter your phone number to receive a verification code, then tap Continue.
If you receive the verification code, everything is fine and you can follow the on-screen instructions to complete the process. You can also verify your identity via a phone call, so be sure to try that too.
3. Create an Apple account via the Mail app
Another option is to create an iCloud email address through the Mail app and then use that to create an Apple account through the iCloud website, Settings app, or App Store. Here’s what you need to do:
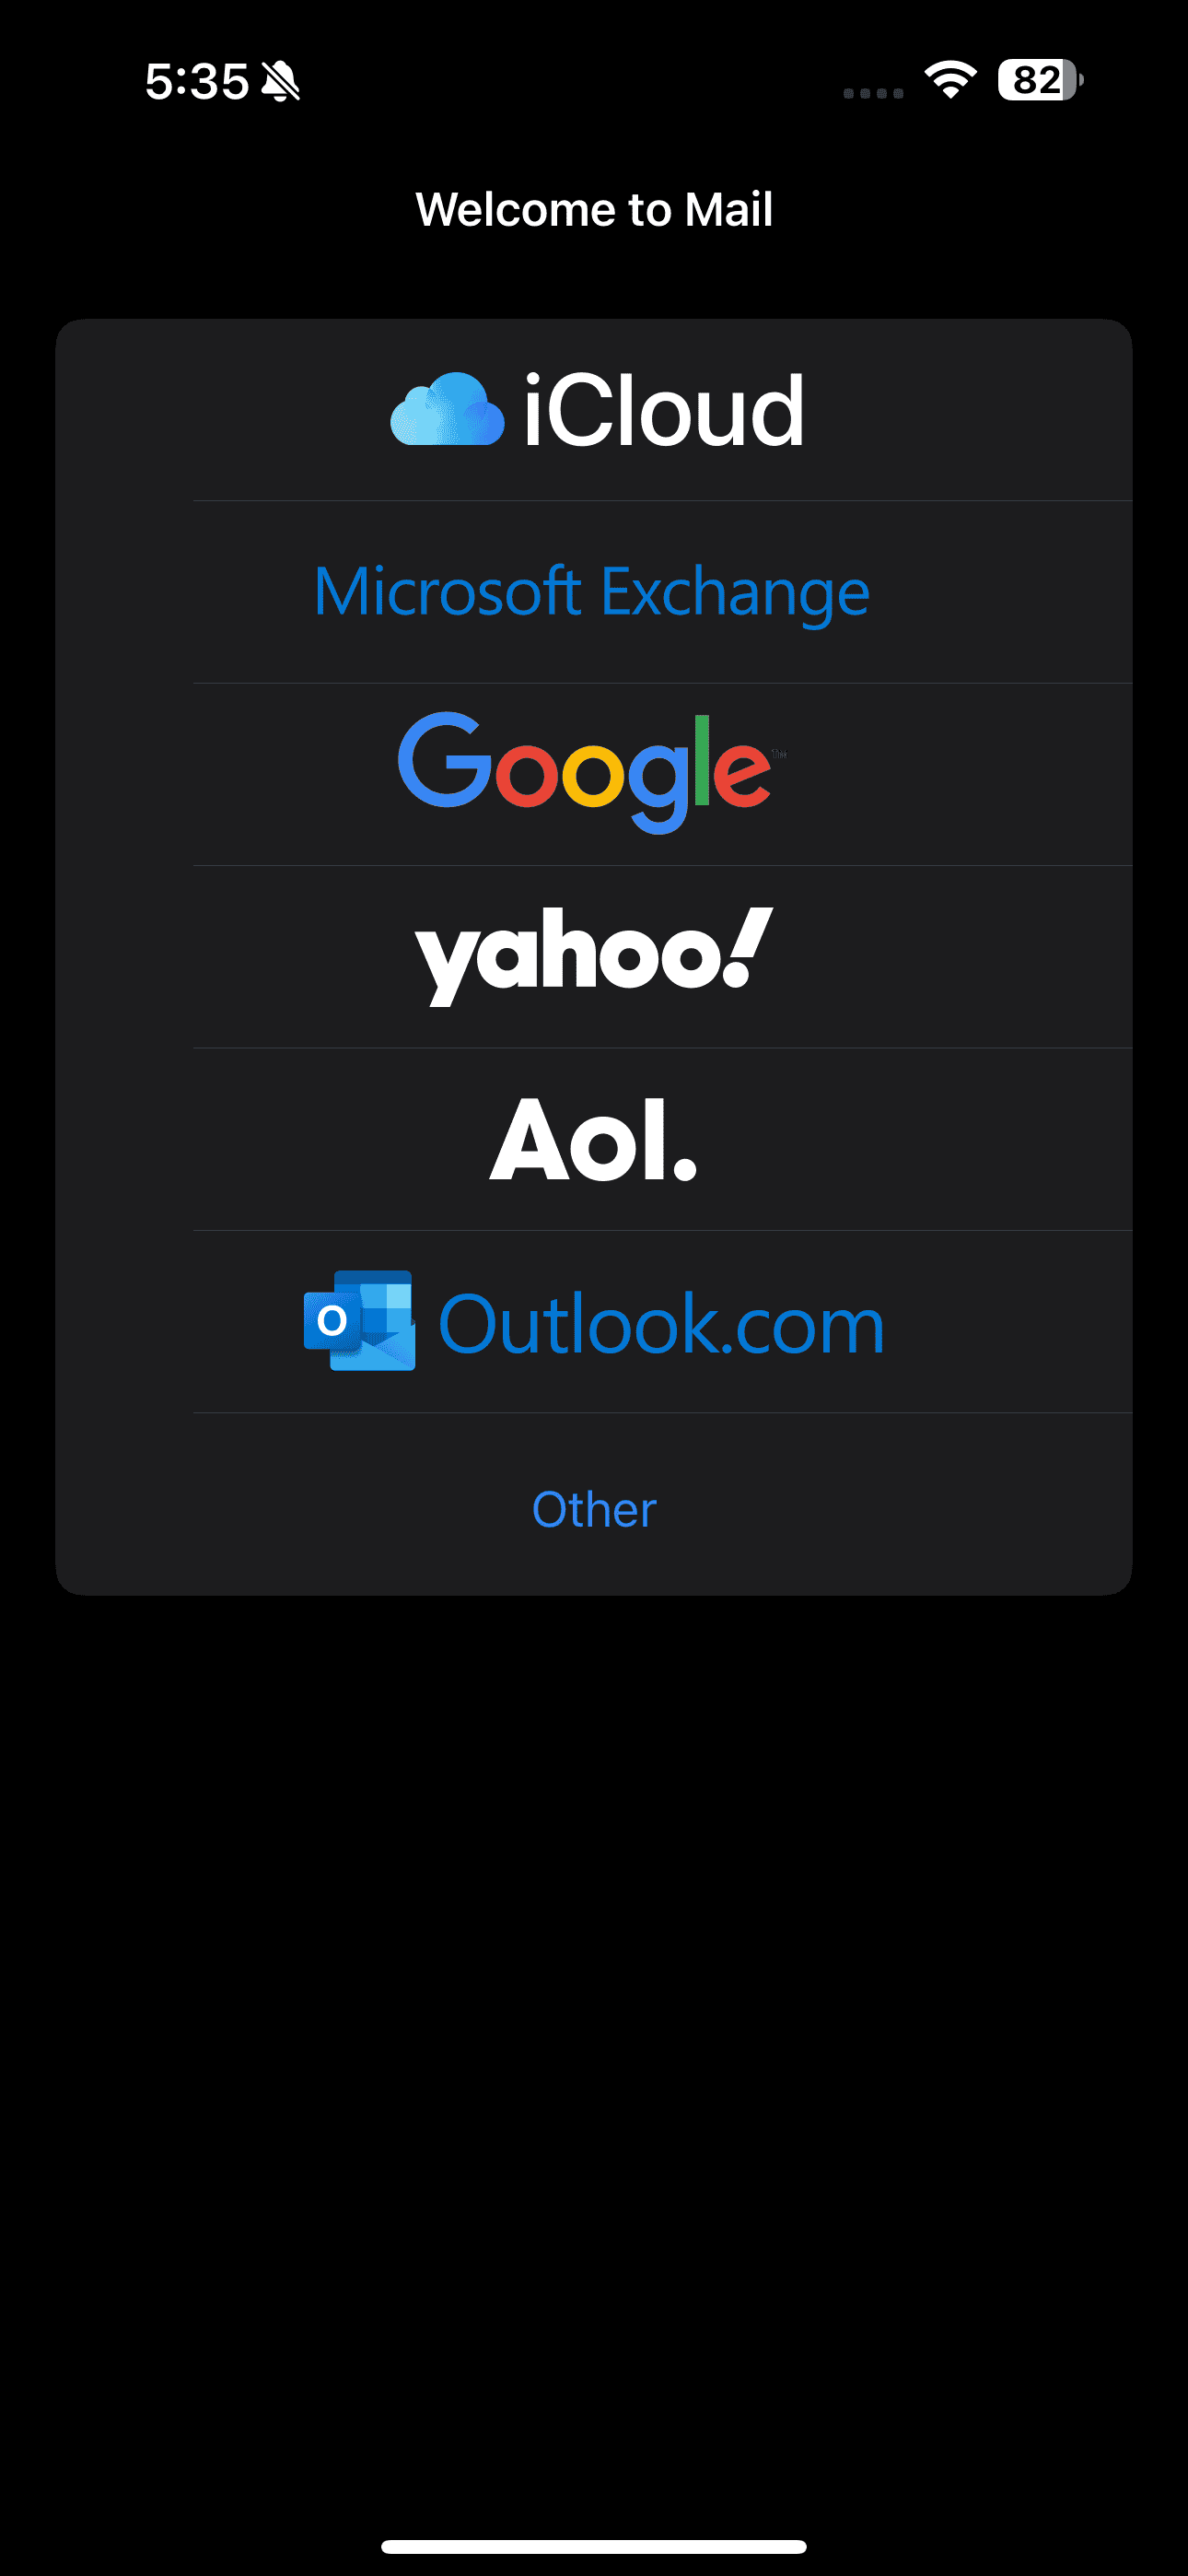
- Open the Email App.
- Many different options will appear on the screen, including iCloud, Microsoft Exchange, Google, Yahoo, AOL, and Outlook. Select iCloud.
- Knock Create a new iCloud Mail account.
- Enter your email address.
- Knock Continueand then tap the Confirm email address Button.
- Knock Completed.
Once the Mail app is finished setting up your account, use it to create an Apple account through the iCloud website or one of the options above.
4. Set the time and date to the 24-hour clock
Resetting the date and time to a 24-hour clock may resolve the issue, as time discrepancies can sometimes cause the system to misidentify your location. All you need to do is Settings > Generally > Date and time. Now switch the switch next to 24-hour time.

In addition, we recommend that you turn on the switch next to Set automatically for a few seconds, switch to a different time zone, and then turn it back on. After all these steps, you can try the verification step again and it might work.
5. Check your internet connection
In most cases, the cause is a poor internet connection. To ensure that you are connected to a secure and strong network, we recommend that you restart your Wi-Fi router, disconnect the Wi-Fi from your iPhone and Forgot password and reconnect. If it still doesn’t work, try switching to a mobile data network.
6. Reset all settings on your iPhone
Another way to prevent the “Verification failed, code will not be sent” message is to reset all settings on your iPhone. Go to Settings > Generally > Transfer or reset iPhone > Reset > Reset all settings. Don’t worry, this is different from resetting your iPhone to factory settings. This will just reset your iPhone’s settings to their defaults.

Now try creating an Apple account again.
7. Request account recovery
If nothing works and you have an existing Apple account that you can’t verify, you can try requesting account recovery from Apple. Even Apple itself recommends using account recovery only as a last resort.
This is because it will take more than just a few days for your account to be usable again, which is inconvenient for many users. You can email an account recovery request to iforgot.apple.com. Note that this will not work if you are trying to create a new Apple account.
8. Contact Apple Support
If the problems persist, the last resort is to contact Apple Support. Go to Apple’s support website and tap on “Start a support request online”. In the search bar, type your problem, for example, “Verification failed”. Some solutions and articles will appear on the screen. You need to scroll down to the “Contact Us” section and select Call usAn Apple support number will be displayed where you can discuss your issue.
We recommend trying the solutions listed at the beginning of this article first. If none of them work, you should consider restoring your Apple account or contacting Apple Support.
