
A Cutting set in Star Wars Outlaws helps you hack devices on the various planets you explore. You’ll often need to do this to obtain information, get into locked locations, or gain control of certain objects.
However, it’s not as simple as walking into a dealer and purchasing this useful Star Wars Outlaws tool. You’ll need to go through a series of quests and research information before you can even think about getting your hands on the kit.
This is where we come in! We are here to show you How to get a cutting set in Star Wars Outlawsplus How to upgrade the slicing kit.
On this page:
Manage cookie settings
How to get a cutting set in Star Wars Outlaws
To get the Slicing Kit in Star Wars Outlaws, you need to progress through the story and complete the main quest “New Tricks”. This is unlocked after completing the Underworld quest, where you have to deactivate the energy cores to overcome the energy barrier. This is also the mission where you meet Danka and unlock your reputation.
Completing this mission will unlock the expert information on The Slicer – you can find and track this in your journal.
The Slicer Intel
To investigate this information, go to Makal’s Gaming Parlor in Mirogana and look around. Find an unoccupied part of the bar and listen for two patrons talking.
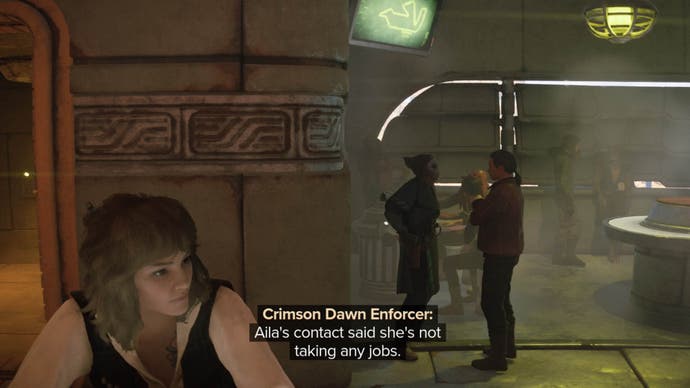
Once you have listened to the conversation, unlock the expert information “Aila’s Contact”.
Aila’s contact information
For this part, head to the Crimson Dawn District in northern Mirogana. At the time, our reputation with this syndicate was “good,” so we were able to go through the main entrance without any problems. However, if you don’t get along well with them, you’ll have to sneak in and sneak around stealthily.
And even though we had that reputation with the Syndicate, we still had to sneak onto the landing platform where the contact is located. To do this, face the two guards blocking the entrance to the landing platform and then follow the path to the right.
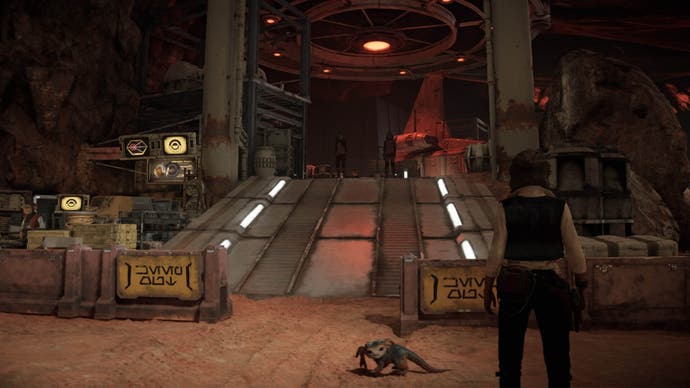
Here you should find a stack of crates that form makeshift steps to the landing platform.

Climb up and then sneak to the contact standing in the middle of the landing platform.
After talking to them, the quest “The Slicer” will be unlocked and you must complete it to receive the kit.
The Slicer Quest
Your first task in this quest is to go to an Imperial outpost southwest of Mirogana. When you get there, use stealth to take out any troublesome Imperials along the way. Then use Nix to steal the device from one of the engineers – they all wear grey jumpsuits and usually work on the tower in the back corner of the outpost.
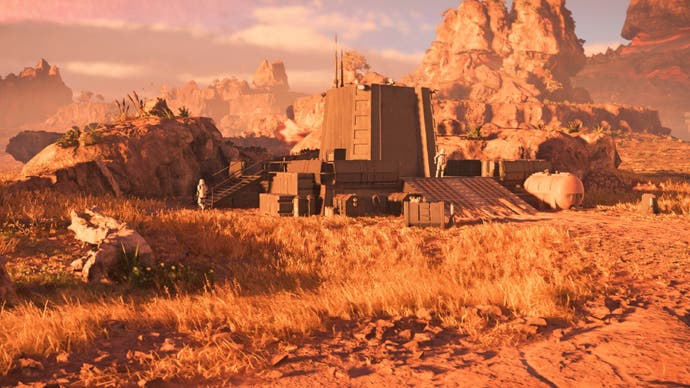
Once you have it, head southeast to meet Aila in an Imperial Forward base. You’ll need to infiltrate the base and free her, though – so be prepared for more stealth moves.
When you’re at the base, you can’t go through the front door! Instead, stand on the main entrance and look to the left. You should see a slight incline here that leads up a cliff and a gap that leads across to the base. At the top of the incline, you should find a grapple point. Stand there and you should see a cave across.
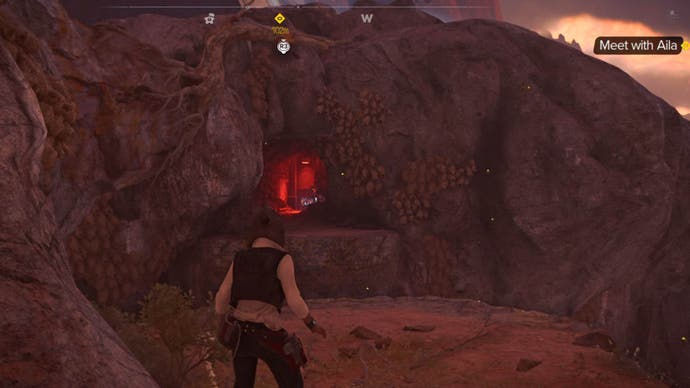
Use your grapple to swing to this cave and go inside. Go through the shaft here and climb up the ladder. This will take you into the base and right behind some crates, so remember to take cover. If anyone spots you, it will be a fierce fight, so we highly recommend you keep a stealth approach while doing this.
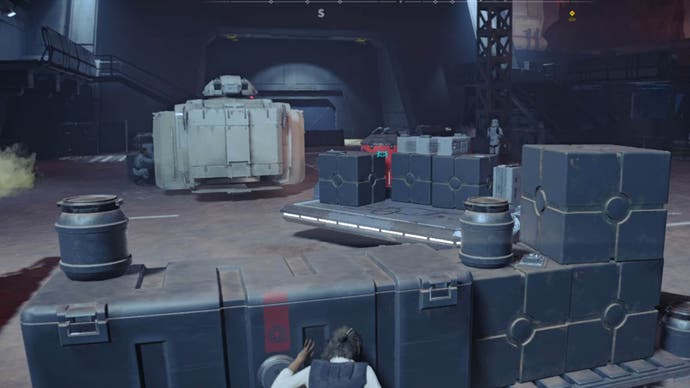
Sneak around or quietly take out the stormtroopers and officers as you follow the quest marker at the top of the screen to get to the garage where Aila is waiting.
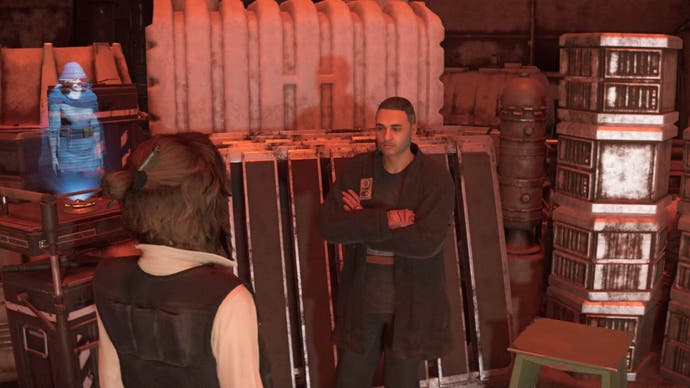
Once you’re in the garage area, Aila will seal the doors. Go into the back room to meet the legendary Slicer.
After speaking to her, go through the vent on the left side of the room and then use the ladder on the right when you’re outside to get to the roof where you’ll need to attach the device to the antenna. Be careful though, as there are stormtroopers on patrol up here too.
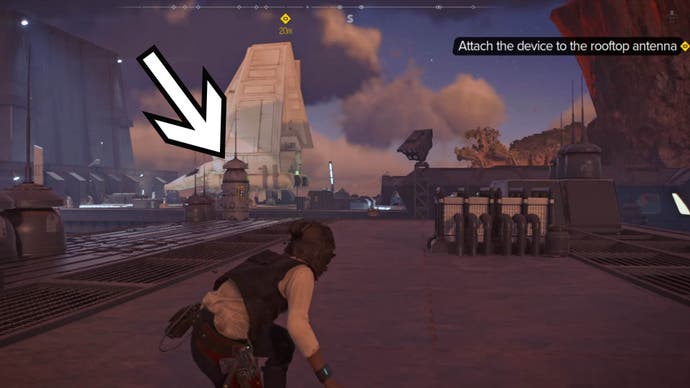
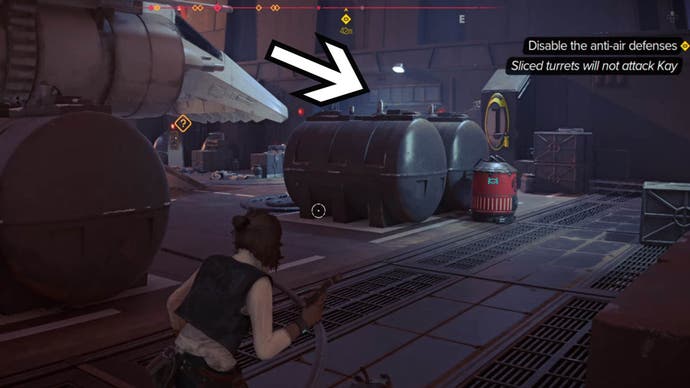
Once you’ve attached the device to the antenna, you’ll need to take out the anti-aircraft defenses via the control tower. Thankfully, the turrets aren’t shooting at Kay now, so all you have to worry about are imps getting in your way.
To disable the defenses, go to the roof to the right of the antenna and jump to the next antenna opposite you – it is the roof of the walls at the edges of the base.
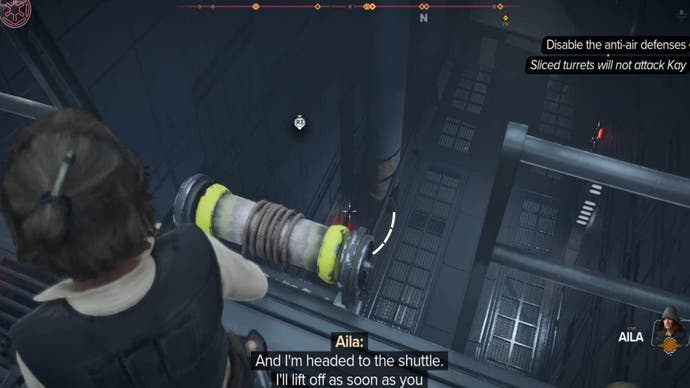
Follow the path to the left here, using stealth or blasters to take out any enemies in your path. You’ll come to a large open rooftop area. There are plenty of places for Kay to hide here, so follow the quest marker at the top of the screen to the building opposite where the path took you out of.
Go into the building and use the rope at the edge of the walkway to abseil to the lower level.
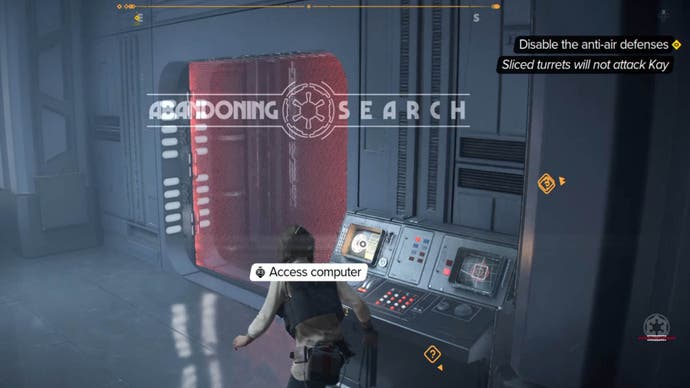
Go through the door on this platform and then take out any enemies waiting for you in the hangar. We encountered a stormtrooper and an Imperial officer.
Once you’re done with that, go to the computer terminal to the right of the turbolift, which is currently surrounded by an energy shield. Simply use the “Open Security Door” command that appears here and the energy shield will be lowered.
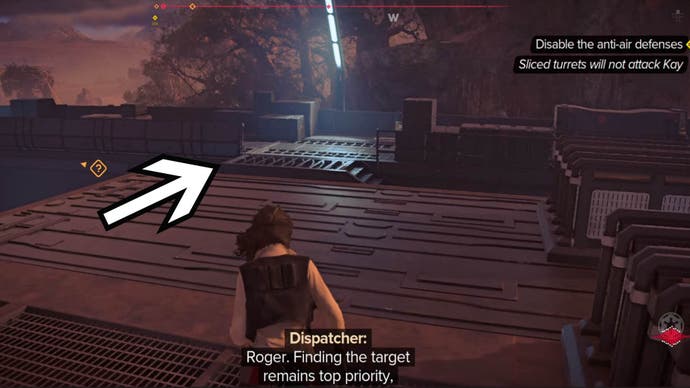
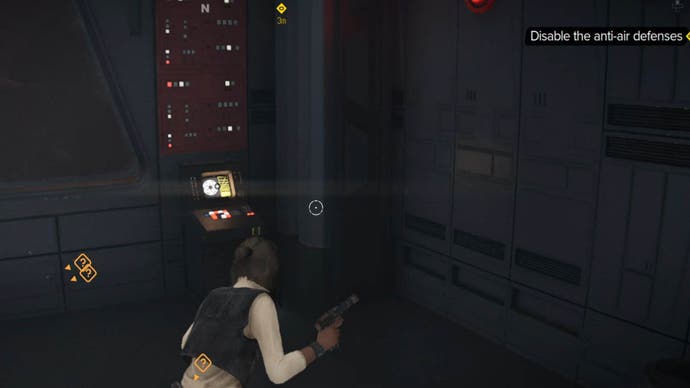
Then use the turbolift to get to the control room on the next floor. Be prepared to take on a few more enemies, although it was pretty easy to take them both out. Once you’ve done that, hack the computer in the right corner of the room to disable the defenses.
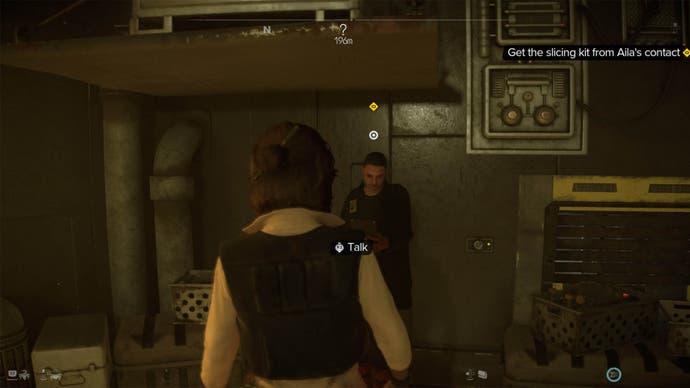
That’s it! Once you’ve done that, you’ll need to leave the premises. Once you’re far enough away, you’ll be told to return to Makal’s gaming parlor in Mirogana. Head back there and follow the quest marker to the small room across from the bar (near where you first heard two customers talking at the start of this quest chain).
Here, Aila’s contact is leaning against a wall. Speak to him to complete this quest and finally receive your cutting kit!
How to upgrade the Slicing Kit in Star Wars Outlaws
Once you have a Slicing Kit, you can upgrade it by going to the Skills tab in your main pause menu (where you see reputation, map, etc.).
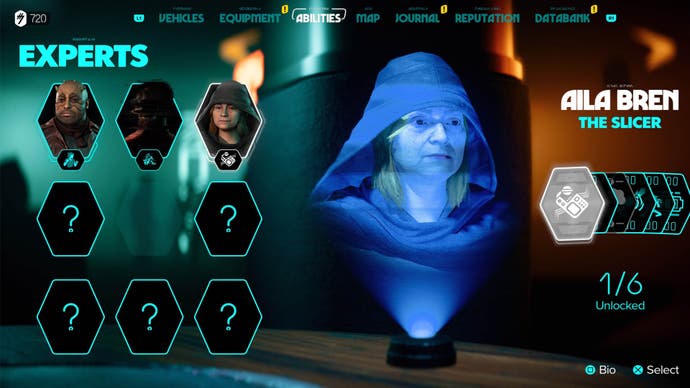
Select Aila from this menu. This will open another menu. At the very bottom of this list you will find a Slicing Kit upgrade. Hover over it to see the unlock requirements.
Once you’ve met the requirements for an upgrade, simply apply it to improve parts of your slicing kit!

That’s all for now! We hope you enjoy Star Wars Outlaws.
