

BMyth: Wukong has a fairly straightforward story, but there are plenty of secret areas and bosses to fight. Not only do they grant rewards like will, crafting materials, and curios, but they also help unlock the true ending. Here are 15 secret things you probably missed, and how to find them.
Venom Daoist (Round 2)
The dual-bladed Venom Daoist returns in Chapter 4, but he’s easy to miss if you don’t know where to look. Head to the Courtyard of Enlightenment in the Temple of Yellow Flowers and from the shrine, go through the archway just beyond. Take the first left turn and stay on your way through the spiral staircase – after the second it forks. Keep left, go up the stairs, then immediately turn left again. Eventually, a large cave comes into view – head inside to find the Venom Daoist and engage in another fight.
Purple Cloud Mountain
After victory is achieved, the boss will talk about Purple Cloud Mountain and point to a wall with a painting on it. Look at the painting and interact with it to unlock – you guessed it – Purple Cloud Mountain, the secret area of Chapter 4. Enjoy the view while you can, because one of the most dangerous hidden bosses awaits.
The Scorpion Prince
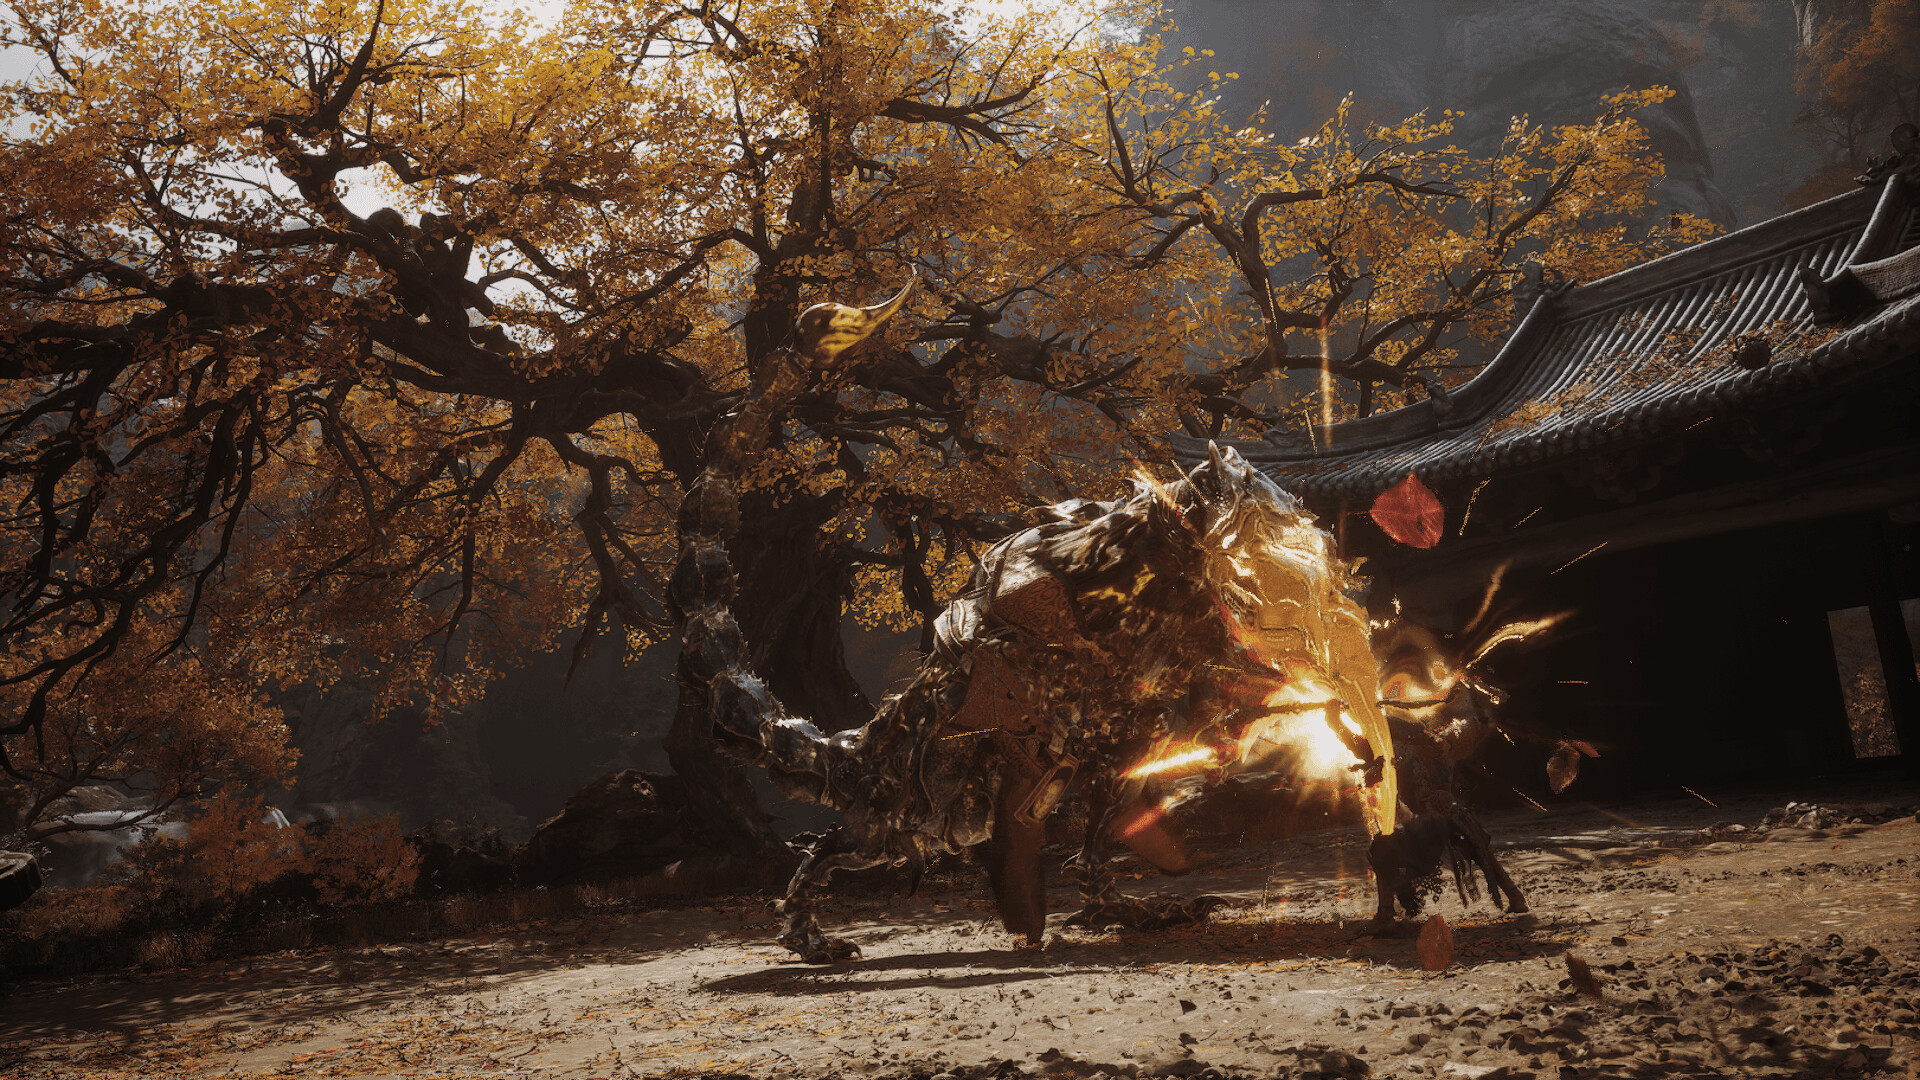
Among the many bosses you encounter, Black Myth: WukongBe careful around the Scorpion Lord, especially because of his poison damage. You can find him behind the Bounds of Deity’s Abode shrine, where he is relaxing nearby. Destroy the barrels beneath him to start the fight.
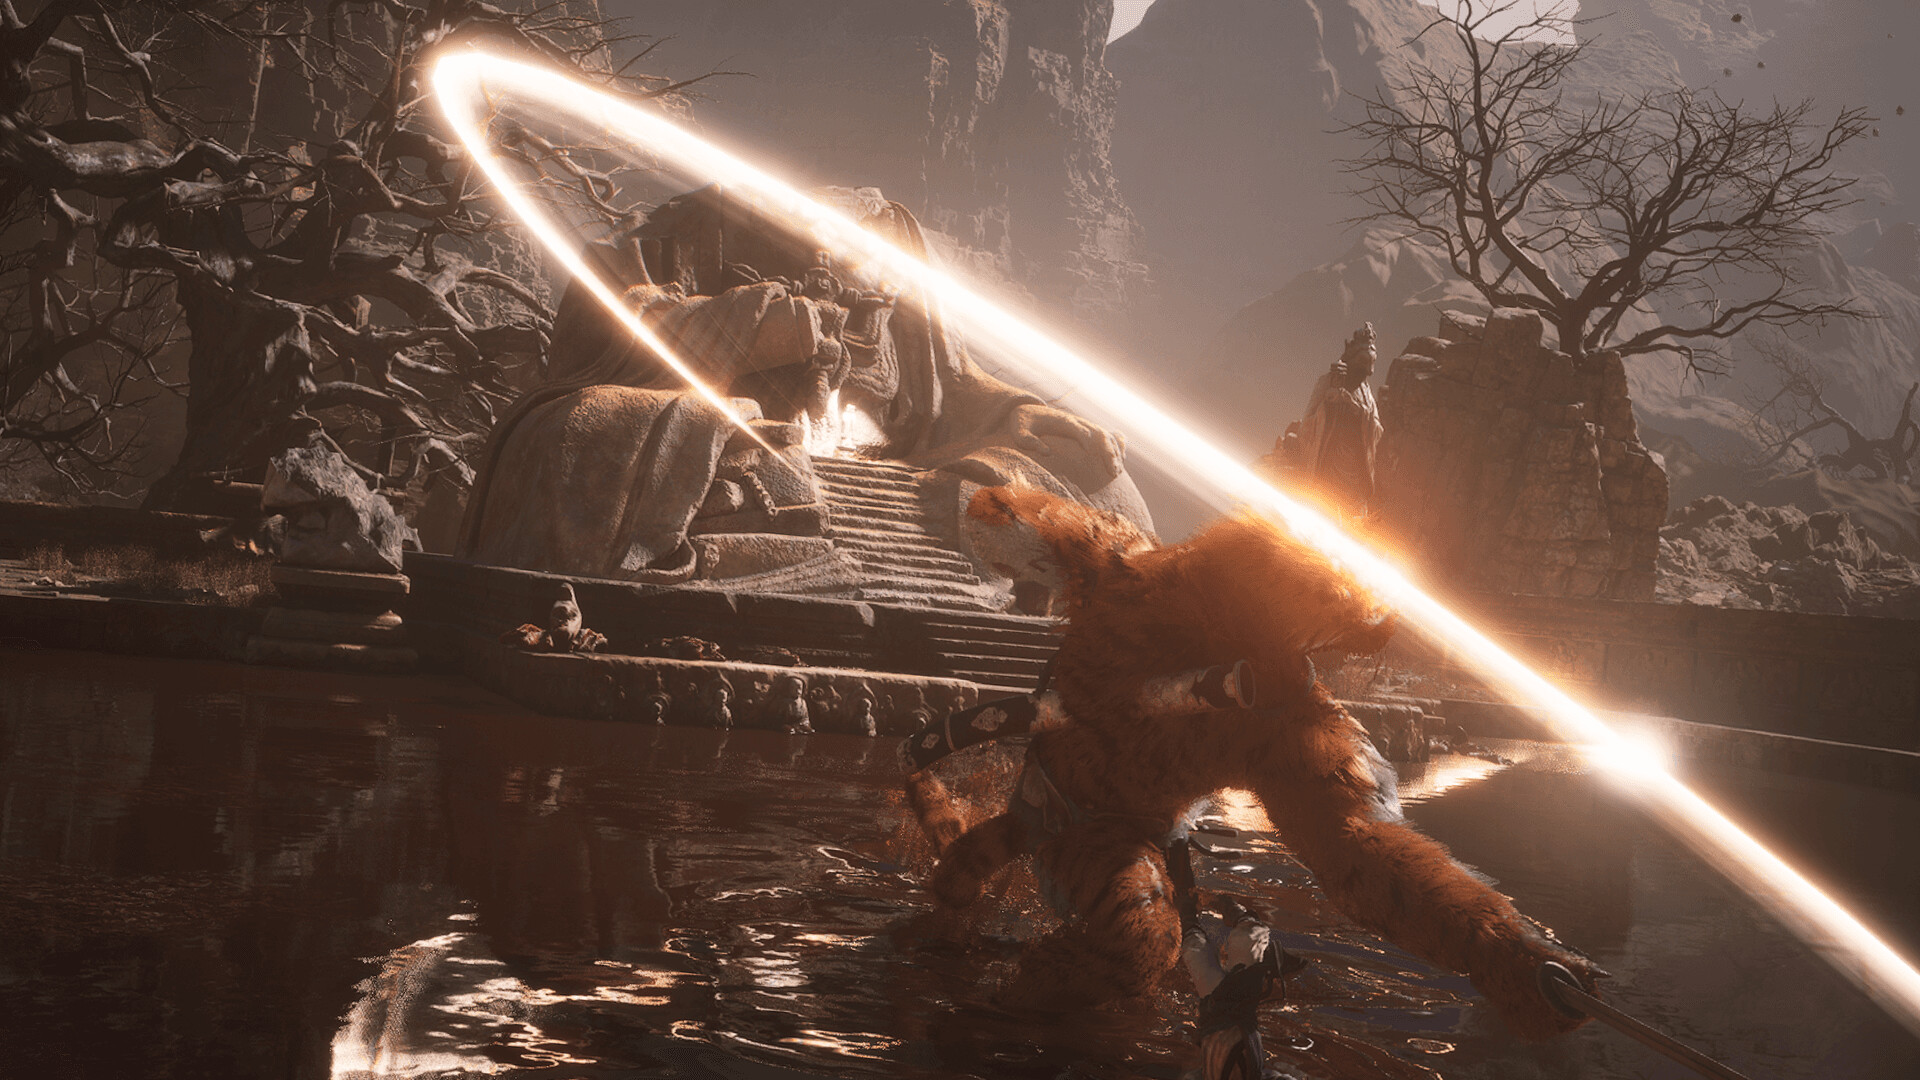
Twilight veil
If the Scorpion Lord was too much for you, then there’s good news – another slightly less challenging but still challenging boss awaits you at the top of Purple Cloud Mountain. Go all the way to the end to find the Duskveil. Defeating him will net you several rewards, including the Double-combed Rooster Blood Soak. The latter cleanses all poison effects when using the gourd and increases your movement speed and critical strike chance.
Squire in yellow robe
Several secret bosses are tied to the “Drunken Boar” side quest, which is given from the NPC in Chapter 2 on Fright Cliff. You must find the Sobering Stone at Windrest Bridge, give it to the boar, and then continue to the Crouching Tiger Temple to see him again. After giving him a Jade Lotus, you must head to the Valley of Despair in Sandgate Valley to find and defeat the First Prince of Flowing Sands.
Afterwards, return to Fright Cliff where you first met the boar to encounter the Yellow Robed Squire. If you haven’t defeated the First Prince, he won’t be hostile to you, so make sure you’ve done that to defeat him.
Tiger Vanguard (Alternative)
Why bother making an enemy of the Yellow Robed Squire? Because of course that’s not the end of the side quest. Once you’ve defeated him, go to the large gate and enter it to travel to the Kingdom of Sahi, a secret area. Here you’ll find another version of the Tiger Vanguard. Do as the protagonist does and set about taking him down.
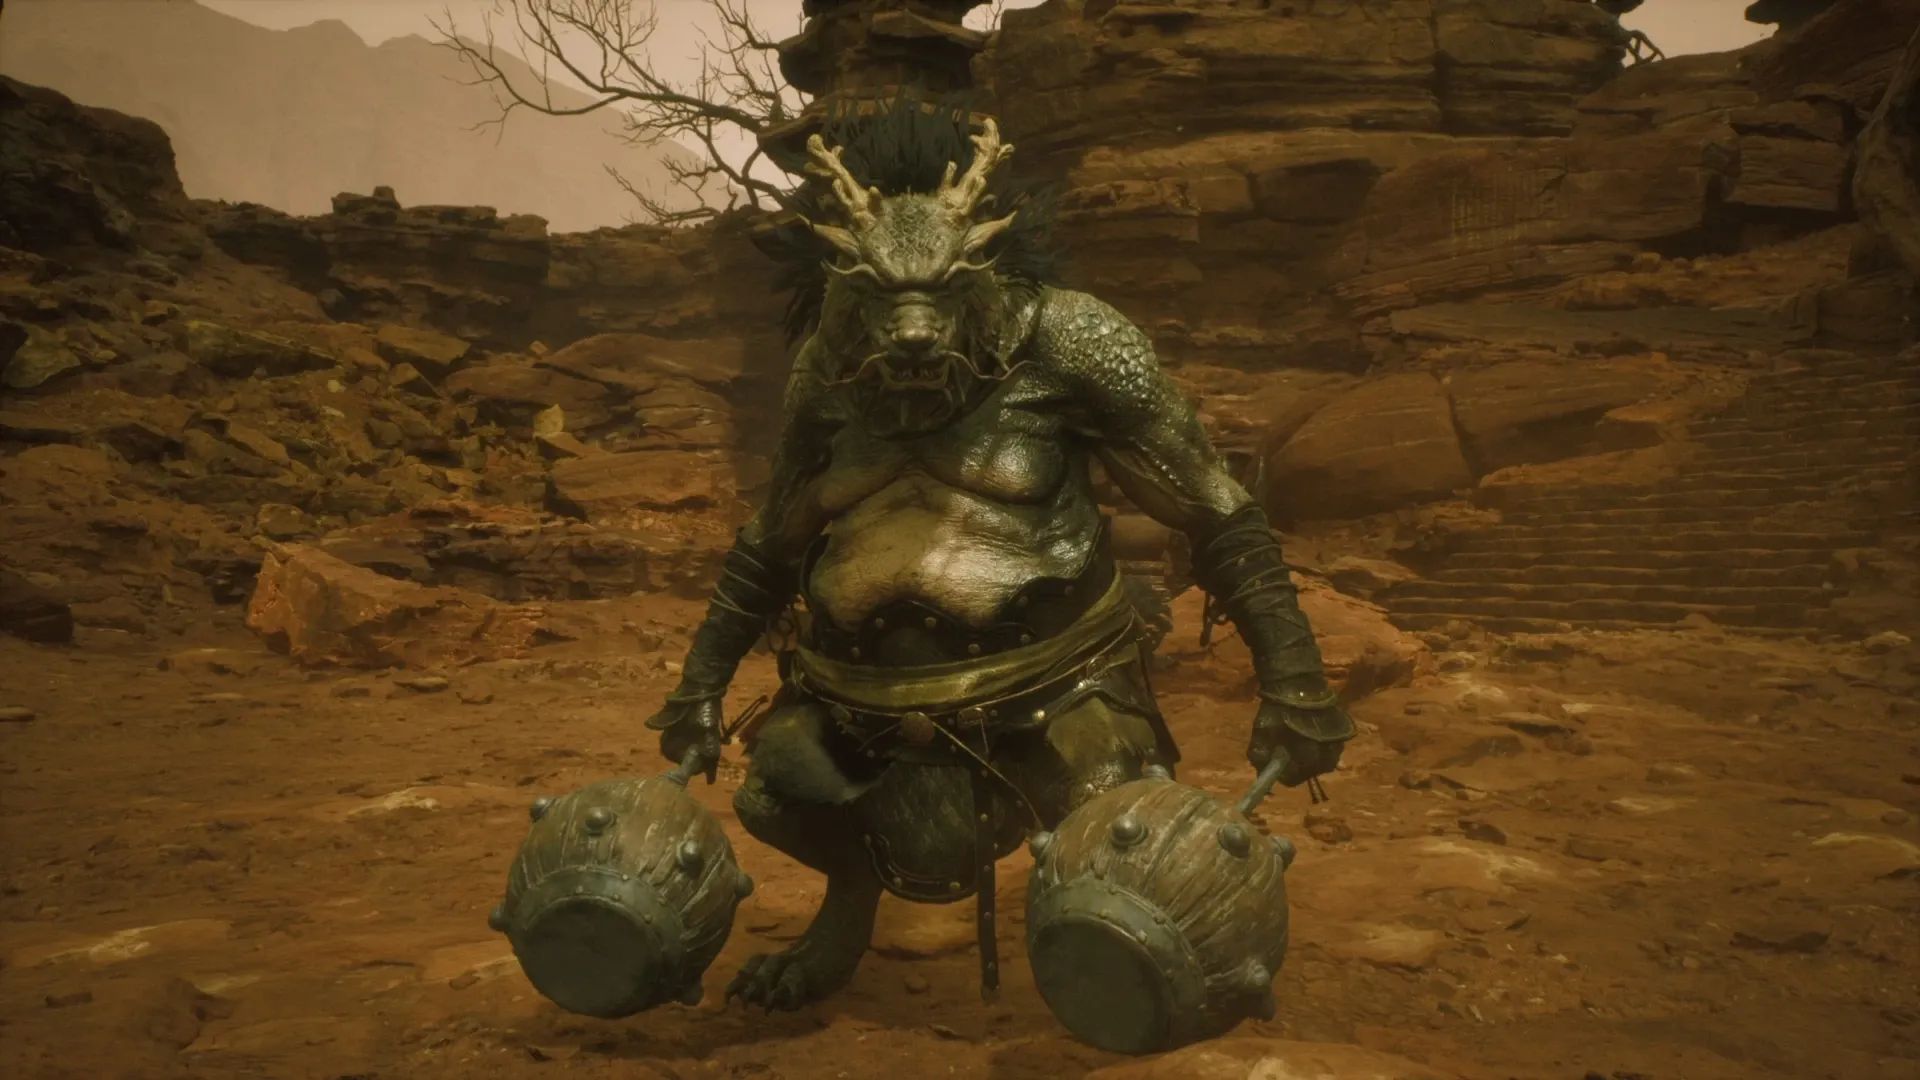
Fuban
But wait, there’s more. Go past the Tiger Vanguard and you’ll eventually meet an NPC on a cliff next to a giant drum. After hitting the drum, the third and final boss of this side quest, Fuban, will be summoned from the depths of the desert. Defeat him and the Wind Tamer Vessel is yours, along with the Sky-Piercing Horn crafting material.
Red Loong and Black Loong
Red Loong, one of the very first bosses introduced in the title, and the melee-focused Black Loong are two other hidden bosses that aren’t immediately accessible. Fortunately, they’re pretty easy to find. Return to the Valley of Despair, to the arena where you fought the First Prince of the Flowing Sands.
Face the wall you jumped from and use the Wandering White Spirit ability to break through it and find the Loong Scales. Head to Outside the Forest in the Forest of Wolves and look for a waterfall to interact with – this will put you in battle against Red Loong. Defeating him will earn you the Boshan Censer Curio, which grants damage reduction when your gourd is empty.
To find Black Loong, head to the Fright Cliff at Rockrest Flat and look for several steps leading to a sand waterfall. Interact with him again and discover a new area where the boss awaits. After defeating him, you’ll receive the Tridacna Pendant, which reduces the cooldown of all spirit skills. Also, make sure to craft the Loongwreathe Staff using materials from both dragons. It costs a whopping 21,000 Spirit, but its unique effect increases the damage of all Pillar Stances moves.
Elder Jinchi
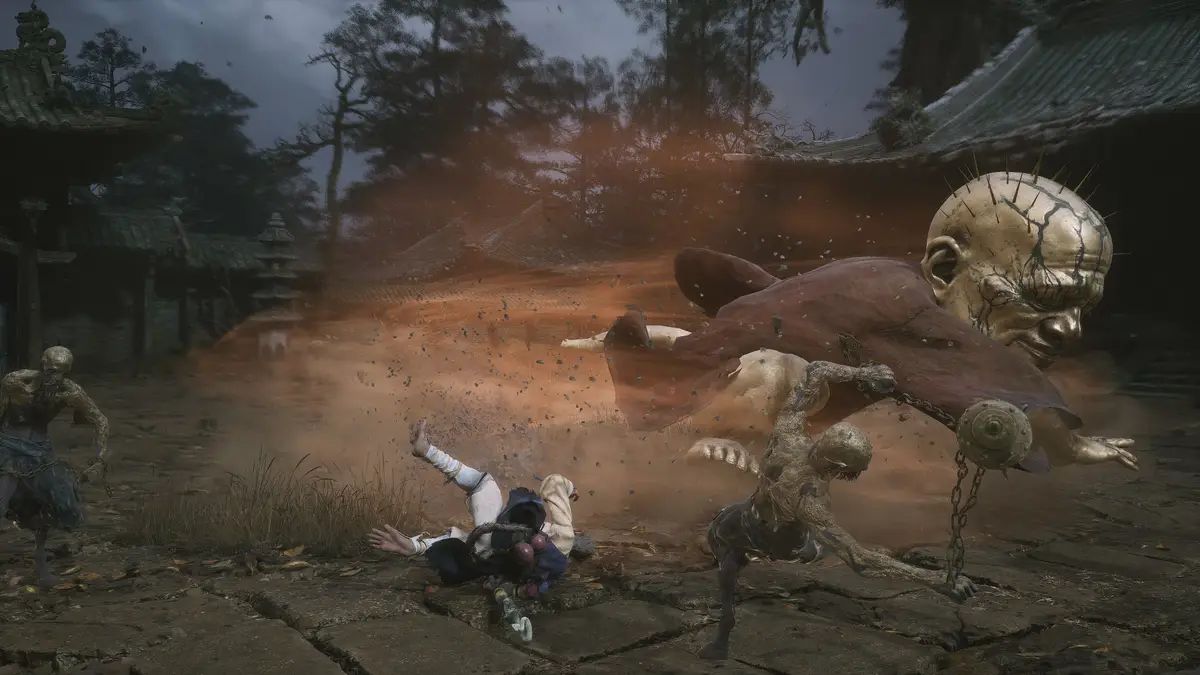
Remember the metal-coated boss from the trailers that unleashes multiple exploding minions at you? His name is Elder Jinchi, and as it turns out, he’s a secret boss. You’ll find him in Chapter 1 in the Great Chamber of the Ancient Guanyin Temple, but the area is secret.
To find it, you’ll need to ring three bells randomly located in three boss arenas – Guangzhi in the Forest of Wolves and Guangmou in the Bamboo Grove, as well as White-Clothed Noble in the Serpent Path and Swamp of White Mist. Ring all three, and you’ll be teleported to face Elder Jinchi, and receive the Fireproof Mantle upon defeat.
Shigandang
After defeating the Stone Vanguard in Rockrest Cliff in Chapter 2, you can challenge another boss in the same area. However, you must first collect six Buddha Eyeballs. Four of them can be found in the Squall Hideout in Rockrest Cliff, while the remaining two are in Rockrest Flat. After obtaining all six, venture into the Stone Vanguard’s arena and take it to the rock with human faces. Then Shigandang will show up, ready to fight. Defeat him to receive a Mind Core and the Skandha of Feeling.
Crazy Tiger
To access this boss, you must first have defeated the Tiger’s Acolyte in Windrest Hamlet in Chapter 2. This will give you the Old-Rattle Drum, which must be used in three locations in the Yellow Wind Formation – Windseal Gate, Windrest Hamlet, and the entrance to Sandgate Village. In the village, a cutscene will trigger that points to a well – jump in to find the Mad Tiger, ready and willing to fight.
Martial artist with green cap
In Chapter 3, you’ll encounter an NPC called the Treasure Seeker on the northern shore of the Bitter Lake (though he can also appear in the Forest of Bliss in the Valley of Ecstasy in the same chapter). Make sure you have the Ring of Fire spell equipped, as he will shake to death when you find him. Use the spell and talk to him again. Go to the Forest of Bliss Shrine and head right after spawning. At the bottom of the slope, go left and down the steps until you find a small lake with a monolith.
Jump down the cliff on the right, turn left towards the giant log, and drop down until you reach the Melon Field shrine. Just beyond that is a huge cave where the boss Green-Capped Martialist awaits. Defeating him will trigger a cutscene, after which you will receive the Spellbinder.
Non-emptiness
Travel back to the Forest of Bliss Shrine, but this time speak to the person near the archway. If you interact enough times, you will transform into a fox and receive the Snow Fox Brush to enable the transformation. Advance far enough in the story to unlock the new Thunderclap Temple, outside of which you will see a glowing red object. Approach the object to trigger a battle with Captain Kalpa-Wave and go inside.
Go straight until you see a smaller temple – go inside and exit through the back entrance. Take the steps to the left, then right and another left, and go down a few more steps. Enter the building in front of you, stay on the right, then go up the stairs. Exit the balcony and go right towards another door. Take the steps to the left and use the Snow Fox Brush to transform. Go inside to trigger the Non-Void fight. Return to the Forest of Bliss and return the brush. You’ll receive it as a Curio that helps extend the duration of transformations when equipped.
Mother of the Flamlings

The Flint Vanguard isn’t the only boss lurking in the Flaming Mountains’ Field of Fire. First, fast travel to the Fallen Furnace Crater and look for the Magma Worms that shoot out of the ground and attack. Defeat them to collect Flame Ore, and when you have four, take the same route with the giant orb.
A new path to the Flint Vanguard will have opened, but walk past its location and eventually a glowing red area will become visible. If you hold R2 and deliver the Flame Ores, a secret boss, the Mother of Flamelings, will appear. She drops a Samadhi Fire Crystal, the Knot of the Void, and a decent chunk of Willpower.
Zodiac Village, 3rd Curios Slot and a powerful transformation
There is a hidden location in Chapter 3 that serves as a home base and houses all the merchant NPCs you will encounter in the game. In short, you should find this location to save time and multiple fast travel instances. How do you find it? Well, you have to complete a quest for it. In Chapter 3, defeat Chen Loong near the coast.
After defeating it, exhaust his dialogue options and go to Xu Dog. After the conversation, he will hand you the Strengthening Medicine and the Bone Strengthening Pelle. Go back to talk to Chen and he will take you to the Zodiac Village. There, meet the Blacksmith who will give you a third Curios slot and if you manage to defeat him, you will receive the Ebon Flow Transformation.
